My Homelab - Proxmox
So with networking out of the way, we can talk about Proxmox, or more specifically Proxmox VE. Proxmox is an open source virtualization software built on top of Debian. It is a free, fully featured open source alternative to things like VSphere. It has excellent support for virtualization of most major operating systems and LXC containers, both of which I use in my lab.
Hardware
I have proxmox running on two hosts, both of them Lenovo ThinkCentre workstations. These are the mini PCs you may see mounted behind doctor office monitors or terminals where decent computing power is needed in a small package. A little dusty, but these are mine:
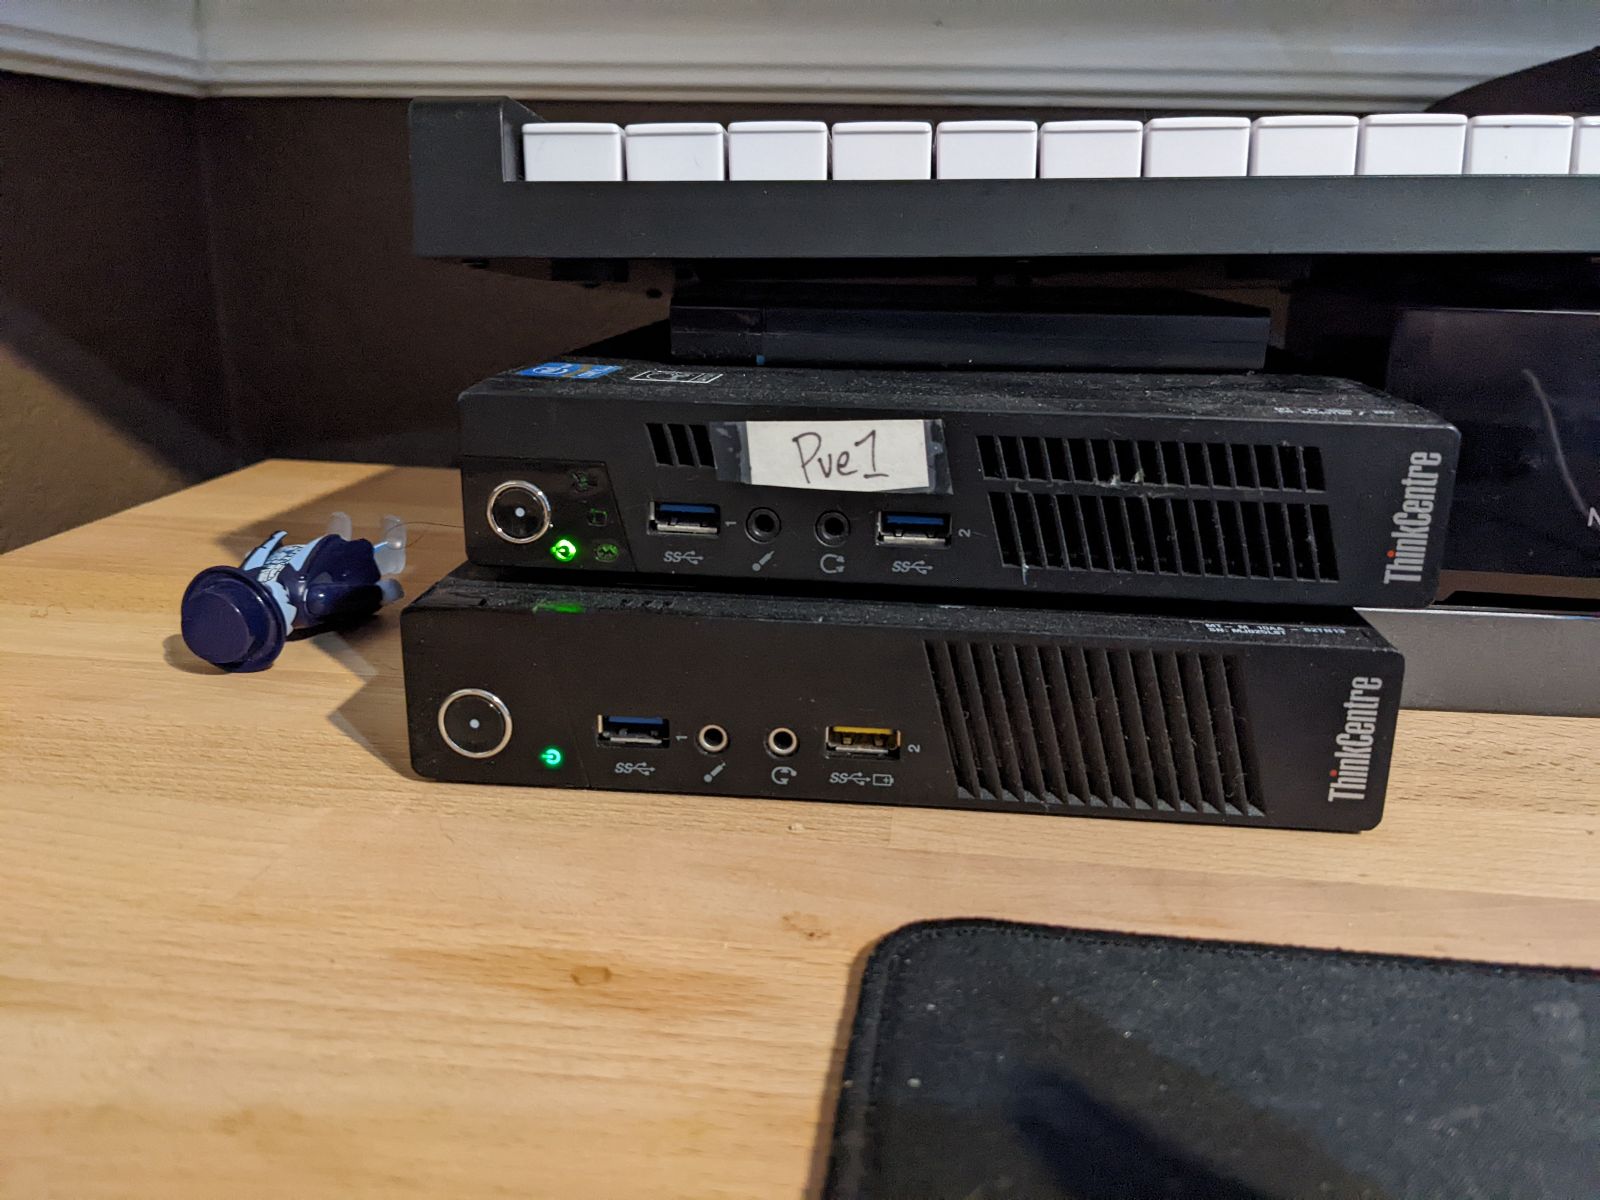
One of my hosts is an 2-core/4-thread i5 and the other an 4-core/8-thread i7, the difference hasn’t mattered since you can deploy what you want where, but more on that later. Both hosts have 16gb of ram, giving me 12 virtual cpu’s and 32gb of ram across both hosts.
To find them, I go to ebay and search “tiny pc i7” or “lenovo tiny pc” or some other combination like that. I look for people selling batches of them since you can tend to Make an Offer and get a cheaper price than otherwise. Depending on current ram and SSD prices, I shop for the CPU and expect to replace or upgrade the ram and SSD after I buy it. It all depends on what seems cheapest at the time.
For SSDs, I use 256GB Crucial MX500’s because those were the cheapest and best quality I could find at the time that I bought them. For the RAM, I use 16gb packs off Amazon, usually again the cheapest.
So looking at the prices of hardware I’ve bought, it breaks down like this (at today’s prices if I couldn’t find receipts):
- M93p Tiny - i7-4765T w/ 8GB ram - $224 (2021)
- M92p Tiny - i5-3570T w/ 8GB ram - $180 (2017?)
- 2X Crucial MX500 - 256GB SSDs - $80
- 16GB Silicon Power DDR3 ram - ~$50
There was also a second system which just died and I was never able to troubleshoot back to life. That one cost about $180 and I moved it’s parts over to my new system.
So all in, this costs about $530 dollars over 5 years, $710 if you include the broken system (just bad luck maybe). It seems like a lot and there maybe was cheaper ways to do this, but compare that to AWS costs. A single 4 core, 16gb host with 256gb of storage costs $123.71 a month so it’s at least chaper than AWS on-Demand prices. Digital Ocean will do 4 core/8gb at $48 dollars a month so for 2 of those it’s still cheaper to own the hardware over time and repurpose it whenever this stack outlives it’s usefulness.
Proxmox Install
I did nothing special here, I connected each host to a monitor and keyboard, plugged in the USB stick, and ran the installer. I use etcher to write my USB install sticks on Windows and native tools on linux (Ubuntu has that Startup USB creator) since that’s given me good luck for a while. I picked a simple hostname and configured networking to match my network settings, very standard stuff the official docs describe better than I could.
Networking
Networking is pretty simple, when installing the OS I picked an IP address for both of them and statically configured it on the host. I also statically assigned the IP address in DD-WRT. During the install I have them plugged into a monitor and keyboard and use ip addr to get the mac address for the NIC. Assign that adddress in DD-WRT. Go to Services > Servicesand under static leases, assign both IP addresses you selected to the MAC address of your host. Save and apply.
The hostname you assigned during installation of proxmox should match what you configure in your static IP Assignment. This will work together with your DD-WRT configuration and netmasq setup to let you connect to proxmox1.my.domain, this will matter later when we get into https certificates.
Once the OS install completes, test your ability to get into the host via SSH. If you can SSH into them both, you are done.
Clustering
The power of Proxmox is the ability to easily create multiple host clusters. I have a 2 node cluster, which isn’t ideal since you can’t support real high availability, but its plenty for my purposes.
Once the hosts are ready, I create the cluster via the command line. One of the strengths of Proxmox is the documentation and extensive history of forum posts to help you resolve problems and their documentation is a great place to get configuration steps for a cluster.
I’m not going to rebuild my cluster for this post, but the short of the process is:
- Connect to node1, whichever that is
pvecm create my-clusterto initialize the cluster on the first host- Connect to the second host
pvecm add NODE1-IPwhere node1 IP is the address you can use to SSH into the first host.pvecm statusandpvecm nodesto verify it worked.
You should see something like this:
1
2
3
4
5
6
7
8
9
10
11
12
13
14
15
16
17
18
19
20
21
22
23
24
25
26
27
28
29
30
31
32
33
34
35
36
37
root@pve1:~# pvecm status
Cluster information
-------------------
Name:             cluster
Config Version:   4
Transport:        knet
Secure auth:      on

Quorum information
------------------
Date:             Sun Feb 20 07:21:49 2022
Quorum provider:  corosync_votequorum
Nodes:            2
Node ID:          0x00000001
Ring ID:          1.2a31
Quorate:          Yes

Votequorum information
----------------------
Expected votes:   2
Highest expected: 2
Total votes:      2
Quorum:           2
Flags:            Quorate

Membership information
----------------------
    Nodeid      Votes Name
0x00000001          1 192.168.0.11 (local)
0x00000002          1 192.168.0.12
root@pve1:~# pvecm nodes

Membership information
----------------------
    Nodeid      Votes Name
         1          1 pve1 (local)
         2          1 pve2
This does some interesting things under the hood, most notably share their respective SSH public key between the hosts so each can access each other freely. If you add a key to one, you get it added to both, which is kind of nice.
NAS Storage
I use a NAS storage attached to DD-wrt to support my network. This is where VM images, container images, and other things are stored. If you don’t already have one, you can set one up in DD-WRT pretty easily. Plug a large NTFS formatted external drive into the router’s USB 3 port and you can set up the rest in the console.
- Go to
Services>USB. EnsureCore USB supportandAutomatic Drive Mountare enabled. - Go to
Services>NAS. - Configure your NAS (more below)
- Configure a Username and Passowrd in the Users section and allow them to access your NAS.
Ansible will set up the rest for us, but you want to make sure you have everything in place before it tries to mount it to avoid having to troubleshoot it later.
Finishing the Setup with Ansible
I use Ansible to configure my hosts. These the roles and playbook I run to set them up - https://github.com/remotephone/ansible-proxmox.
The bootstrap role is something I have been using for a while, I forget exactly where I found it, (possibly here. The purpose of this is to bootstrap barebones systems to be ready for the rest of the ansible tasks. It was especially useful for older OSes or barebones LXC containers.
The meat of it is this task, check if /usr/bin/python exists and if it fails, update and install python.
1
2
3
4
5
6
7
8
9
---

- name: install python 2
  raw: test -e /usr/bin/python || (apt -y update && apt install -y python-minimal)
  register: myoutput
  changed_when: myoutput.rc != 0

- name: now gather_facts
  setup:
Then we set up the rest of the host. We configure apt, configure the NAS, enable ipv4 forwarding, disable ipv6, and update and upgrade everything. Pretty straight forward, but nice to have scripted out.
What Now?
Ok, so it’s on, plugged in, connected, networked, clustered, backed by storage, and we’re mostly ready to go. The next parts get into my AWS accounts so I’ll be covering those in the next posts. Thanks for reading.